Editable
This type of section allows you to directly edit its content in the text editor. As has been commented, the text is html, and just like we do with it, we can apply styles to it
to change its format. It is preferable to do it this way, than to apply changes to different parts of the document by modifying the properties in the editor, since through styles
we can better adjust the format that different parts of the document that we want to differentiate will have, and a change in the style will make the changes apply to all the sections that we want to differentiate.
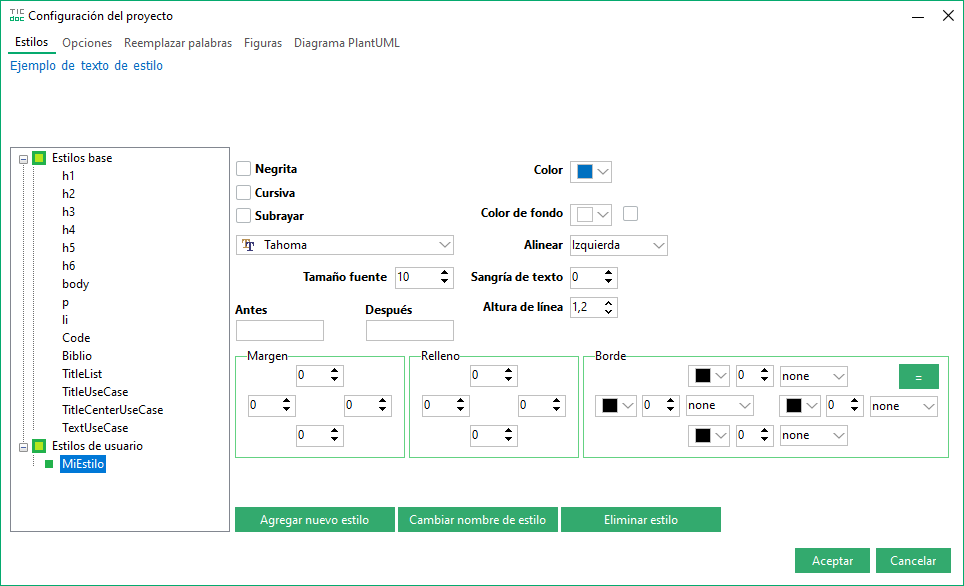
have them. There are predefined styles and styles that we can add, we do it from the project settings  . here in the first
tab we see that there are predefined styles for the headers (h1 .. h6), the paragraphs (p), the lists (li), the document background (body), the code snippets (Code).
If we have added a Bibliography section to the project we will see a style (Biblio). In the same way if we have use cases there are styles to format their title (TitleUseCase), his text
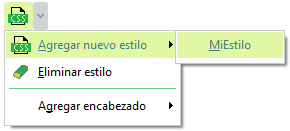
(TextUseCase). To add styles we select User styles and we press the button Agregar nuevo estilo. Then we change the properties of font type, size, margins, etc, in the same way as
we do when applying CSS.
. here in the first
tab we see that there are predefined styles for the headers (h1 .. h6), the paragraphs (p), the lists (li), the document background (body), the code snippets (Code).
If we have added a Bibliography section to the project we will see a style (Biblio). In the same way if we have use cases there are styles to format their title (TitleUseCase), his text
(TextUseCase). To add styles we select User styles and we press the button Agregar nuevo estilo. Then we change the properties of font type, size, margins, etc, in the same way as
we do when applying CSS.
It is therefore a good idea, before starting to write text, to define the styles, or to write plain text and then apply the styles to it. If we copy formatted text
from another program, we can paste it with format (Ctrl + V), or without format (Ctrl + Shift + V).In most cases it will be better to do it the second way and style it afterwards, as neither
images should have the content copied, they must be added according to the procedure that will be discussed later.
We add an editable section by pressing the add button (Ctrl + Insert)  , when we are in the sections tab, and we choose the type of editable section. Here we can start typing text.
Above there are a series of controls to format the selected text, as well as to insert various elements.
, when we are in the sections tab, and we choose the type of editable section. Here we can start typing text.
Above there are a series of controls to format the selected text, as well as to insert various elements.
When we select a paragraph we can apply formatting with the controls on the top bar (as mentioned when there are several words or a paragraph, it is better to change the format using styles). These actions are:
 |
Delete selection |
 |
Bold, italic, and underline style of element text. |
 |
Align text left, right, centered, and justified. |
 |
Font type, size, color and background color of the text. |
 |
We assign a style that we have previously added from the project options. In this same menu is the option to remove an assigned style. The last option on the menu is to assign
h2, h3, h4 and h5 headings, which are used to establish the hierarchy of titles and sections for the table of contents (TOC).
|
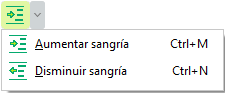 |
Increase or decrease text indentation, keyboard shortcuts Ctrl + M y Ctrl + N. |
In this upper bar we have a series of controls to add various elements to the editor:
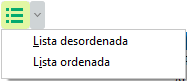 |
Insert lists without order or with order (numbering) |
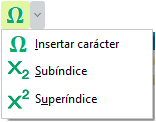 |
Menu options to insert a character from a font (we select at the top of the character editor), to activate the subscript mode and write text below the line, or to activate the superscript mode to write above.
Pressing these options again returns to normal mode.
|
 |
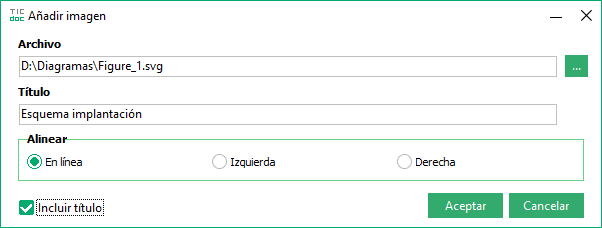
We insert an image, which we can align in line, to the left or right. When we adjust the sides the text can wrap the image, when it is inline it occupies the entire width. When it is a line, we can assign it a title (mark the check). this title
It is used to reference the image when we insert a section that is an image index, where the image numbers, the text with the title and the page where it is appear. A copy of the selected image will be renamed and placed in the project folder.
|
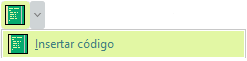 |
We insert code, an editor opens where we select the language and the same format that we have defined in the code editor for that language is applied. Later with the Ctrl key pressed and with mouse click on the code
We open the editor again.
|
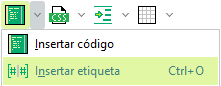 |
A tag is a text between the characters [# and #] whose content we can replace from the project options. When we press this option, the characters referred to are inserted with the cursor in the middle so that we can write
the identifier. When we have added a label we can reinsert it in the section we are editing or in another section from the label insertion menu.
|
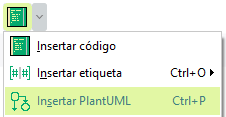 |
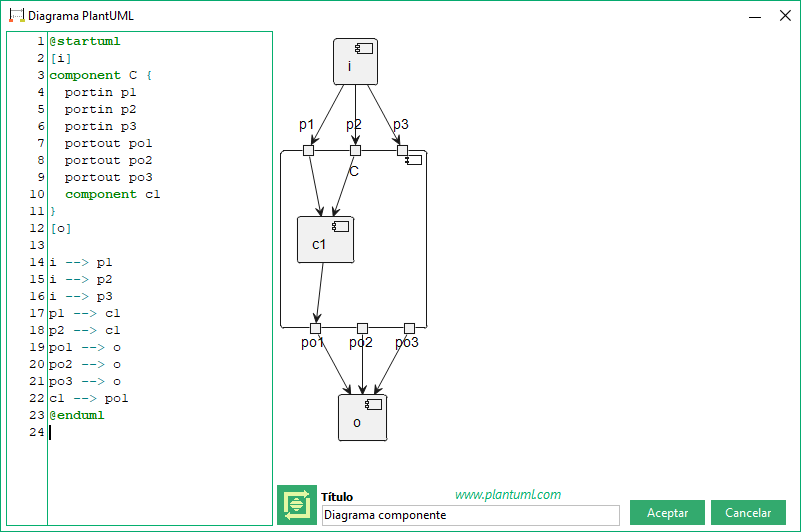
PlantUML is an open source diagramming language that allows users to create UML diagrams (Model
of Unified Language) using a simple text language. These diagrams can be used to describe software systems, processes
business, data structures and other concepts related to software engineering. With this language you can make a multitude of diagrams: sequence, use cases, class, activity, Gantt, etc.
PlantUML can also generate images in PNG, SVG, and PDF formats. In this editor images are saved as svg.
When we add it (Ctrl + P) an editor opens where we write the PlantUML code, pressing the bottom button (or Ctrl + P keys) we make a query to the PlantUML server and it returns the image that we will see
In the right part of the editor, we will assign a title that is used in the case that we insert an image index section to the project.
Subsequently, with the Ctrl key pressed and with a mouse click on the diagram, we open the editor again. We assign the PlantUML server url in program options. Installation is possible
local service and make requests to it, see in PlantUML acerca de esta opción. Los cambios en este editor lo podemos aceptar con Ctrl + Enter.
|
|
|
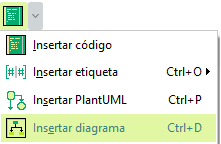 |
From this menu option we add a previously created drawing with the diagram editor. Pressing it will open the editor, we search and select the scheme, we insert it
by double-clicking on the title or by pressing the button  from the top bar. The drawing will be added with the title that has the name of the file. from the top bar. The drawing will be added with the title that has the name of the file.
|
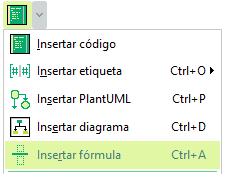 |
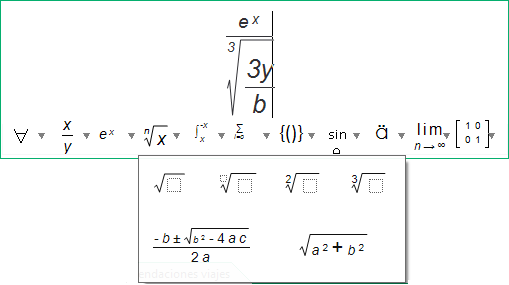
We insert a mathematical formula editor that allows us to insert division symbols, square roots, parentheses, matrices, etc. If we double click on the formula, we open the editor again.
|
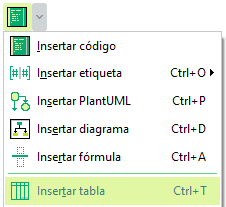 |
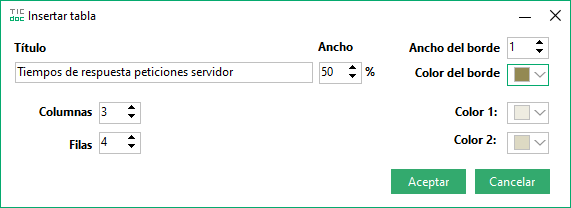
In the editor we can insert two types of tables: tables where we fill the cells (this is what we do with this option), and tables linked to a data section, where we fill the table with the data, so that
a change to the data will cause the table to be updated.
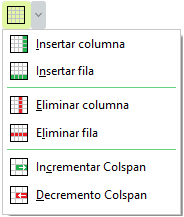
When we are inside the table, the menu options on the top bar are activated to add or remove rows or columns, and increase or decrease the space occupied by a column (that covers more than one column of the cell): Colspan).
|
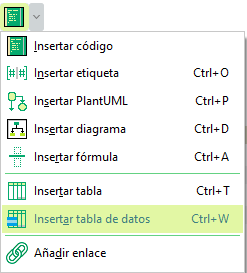 |
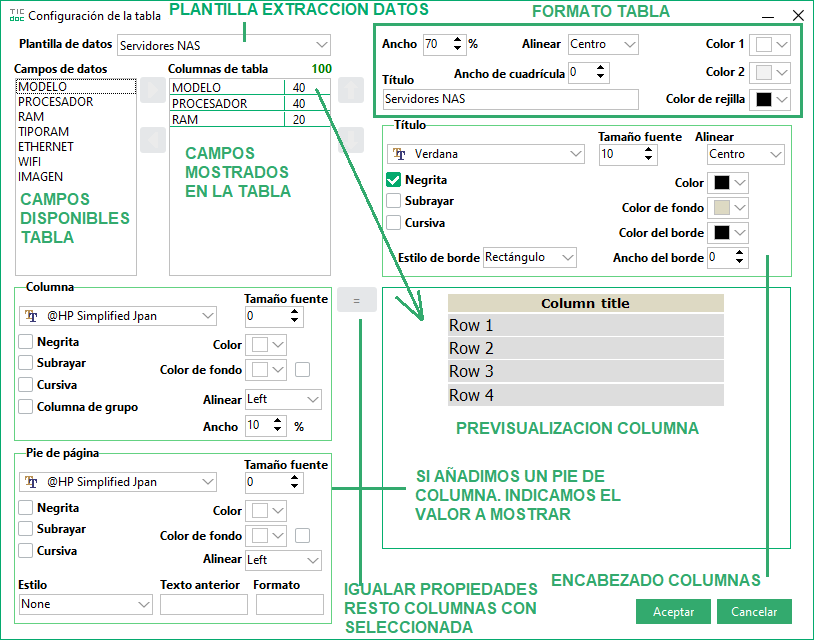
From this menu option we can insert a table linked to a previously created data template Data Template, so that the table will be filled with its records, and when modifying the records this table will be updated.
Pressing it will open the editor, the first thing will be to select the data source template on the top left, when doing so the available fields are listed that we can insert as columns, we will apply a format to each column: width (percentage), font type, text alignment, etc.
We can change the position of the columns once added. Above we set the table properties: width (percentage), title, background colors. We can add a footer to a column indicating the operation to perform on its data to calculate the result (sum, average, etc.), as well as
a previous text and a format for its visualization. We can modify this table later by doing Ctrl + click with the mouse on it.
|